Difference between revisions of "Bridge Intro"
(add routes) |
Jesse (AMJ) (talk | contribs) (next/prev maps) |
||
| (One intermediate revision by the same user not shown) | |||
| Line 1: | Line 1: | ||
{{P2_Infobox|Bridge Intro|Map_sp_a2_bridge_intro.jpg| | {{P2_Infobox|Bridge Intro|Map_sp_a2_bridge_intro.jpg| | ||
| − | *''File | + | *''Previous Map'' [[Ricochet]] |
| + | *''File Name'' sp_a2_bridge_intro | ||
*''Appearance'' [[The Return]] | *''Appearance'' [[The Return]] | ||
*''Native to Challenge Mode'' Yes | *''Native to Challenge Mode'' Yes | ||
*''World Record'' {{#p2sr:wr|sp:bridge intro}} | *''World Record'' {{#p2sr:wr|sp:bridge intro}} | ||
*''Least Portals'' {{#p2sr:lp|sp:bridge intro}} | *''Least Portals'' {{#p2sr:lp|sp:bridge intro}} | ||
| + | *''Next Map'' [[Bridge The Gap]] | ||
}} | }} | ||
=Overview= | =Overview= | ||
'''Bridge Intro''' is the third map of [[The Return]]. There's only one base route, however near the end of the chamber there are route variations for placing the cube on the button. | '''Bridge Intro''' is the third map of [[The Return]]. There's only one base route, however near the end of the chamber there are route variations for placing the cube on the button. | ||
=General Route= | =General Route= | ||
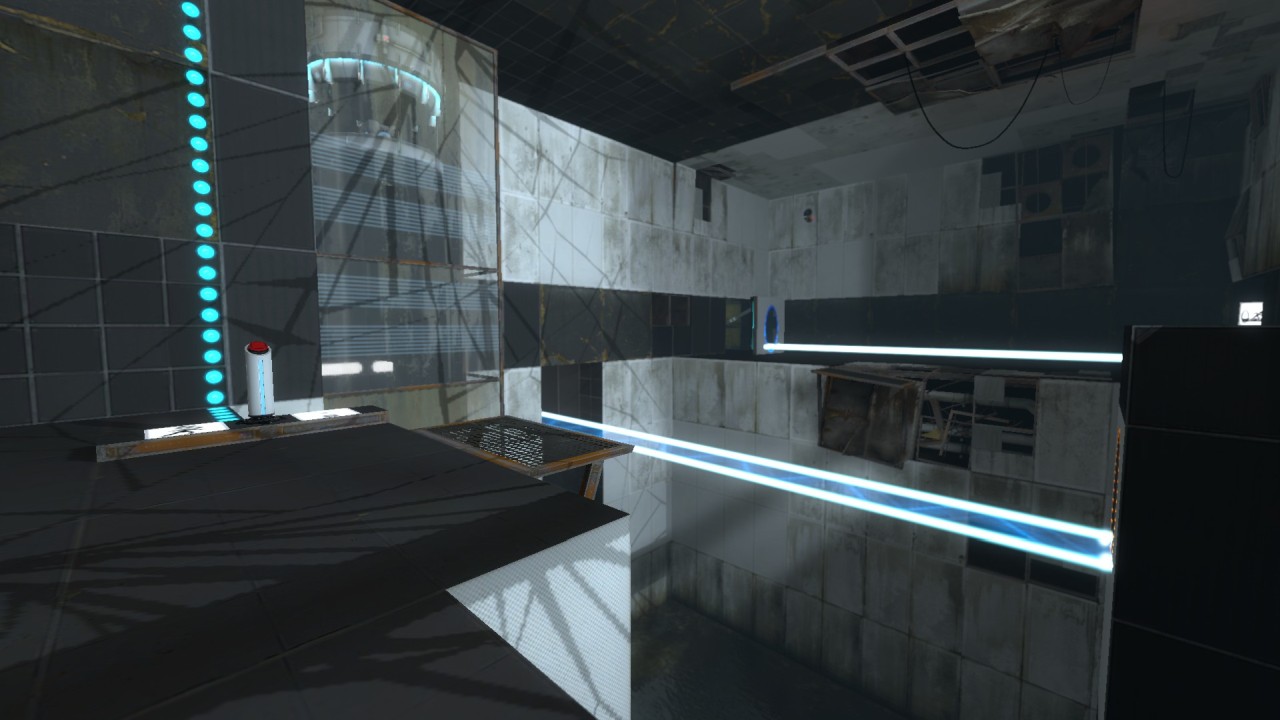
| + | [[File:BridgeIntroButtonPacement.png|thumb|Proper placement of the portal to hit the button]] | ||
Start by hopping in the chamber, and shooting one portal on the surface where the bridge is touching. The second portal should be placed directly underneath the button, on the top left of the wall to the right of the button. | Start by hopping in the chamber, and shooting one portal on the surface where the bridge is touching. The second portal should be placed directly underneath the button, on the top left of the wall to the right of the button. | ||
| − | + | ||
Walk through the bridge portal, look backwards, jump and hit the button from below. Now you're on a timer for cycles to grab the cube. Hop forward, and portal to the right of where the bridge is facing, placing the new portal below the enterance the button room. Jump down, and portal/hop your way down to the cube dropper. If done quickly, you should get a good cycle for the cube drop. | Walk through the bridge portal, look backwards, jump and hit the button from below. Now you're on a timer for cycles to grab the cube. Hop forward, and portal to the right of where the bridge is facing, placing the new portal below the enterance the button room. Jump down, and portal/hop your way down to the cube dropper. If done quickly, you should get a good cycle for the cube drop. | ||
Latest revision as of 17:28, 27 October 2022

- Previous Map Ricochet
- File Name sp_a2_bridge_intro
- Appearance The Return
- Native to Challenge Mode Yes
- World Record loading...
- Least Portals loading...
- Next Map Bridge The Gap
Contents
Overview
Bridge Intro is the third map of The Return. There's only one base route, however near the end of the chamber there are route variations for placing the cube on the button.
General Route
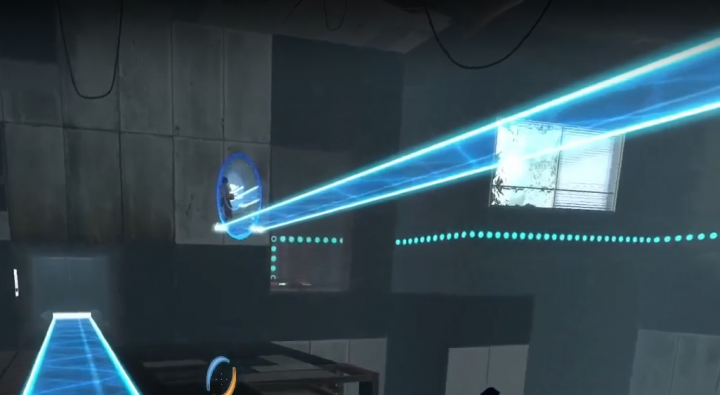
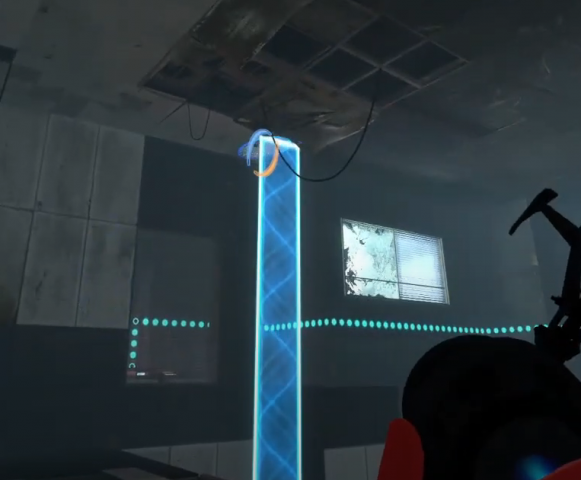
Start by hopping in the chamber, and shooting one portal on the surface where the bridge is touching. The second portal should be placed directly underneath the button, on the top left of the wall to the right of the button.
Walk through the bridge portal, look backwards, jump and hit the button from below. Now you're on a timer for cycles to grab the cube. Hop forward, and portal to the right of where the bridge is facing, placing the new portal below the enterance the button room. Jump down, and portal/hop your way down to the cube dropper. If done quickly, you should get a good cycle for the cube drop.
Walk back through the portal with the cube, heading back to the start of the chamber, and here's where the routes diverge.
Beginner Cube on Button
Place the opposite portal to the one the bridge source is heading to on the bottom right corner of the wall next to the glass and button. From there, walk through the bridge portal, and jump down to the platform, where you can then place the cube on the button.
Intermediate Cube on Button
Place the opposite portal to the one the bridge source is heading to on the ceiling, on the farthest right surface you can, in front of the glass and button. Walk backwards into the bridge portal and hold LEFT, and you should land on the platform where you can put the cube onto the button.
Advanced Cube Through Glass
Place the opposite portal to the one the bridge source is heading to in the same place as the beginner route, on the bottom right of the wall surface, just to the left of the glass. Instead of jumping down and placing the cube on the button normally, shove the cube through the glass wall, in similar fashion to the Smooth Jazz cube clip. After dropping the cube through the wall, walk through the wall portal to get back to the start of the map, and shoot the portal you placed on the wall to the right of the exit door, where you can then walk through.
Challenge Mode Specific
Challenge Mode run by Zach
Full Game Specific
Full Game Dialogue
The optimal dialogue for the Elevator Fade is entering the elevator when GLaDOS says "that's" in "Sharks? Because that's wrong".
"Excellent! You're a predator and these tests are your prey. Speaking of which, I was researching sharks for an upcoming test. Do you know who else murders people who are only trying to help them? Did you guess sharks? Because that's wrong. The correct answer is 'nobody.' Nobody but you is that pointlessly cruel."


