Difference between revisions of "Hub"
Jesse (AMJ) (talk | contribs) m (categories) |
Jesse (AMJ) (talk | contribs) (content and dialogue) |
||
| Line 3: | Line 3: | ||
*''Native to Challenge Mode'' Not Available | *''Native to Challenge Mode'' Not Available | ||
}} | }} | ||
| − | |||
=Overview= | =Overview= | ||
| − | + | Hub is the main "lobby" of the Cooperative Testing Track. You return to it after completing each course, and the next one is unlocked. | |
=General Route= | =General Route= | ||
| − | + | Generally, each time you reenter the Hub, Orange is the one that hops ahead and gets to the disassembler first, while Blue waits at the portalable surface at the bend. There are, however, slight route differences for each course. | |
| − | = | + | # Orange hops ahead, placing a portal at Blue's feet at the bend in the path. Blue should stand near the top of this portal, so they can airstrafe to the right when they fall through the portal. Orange stairhops up the stairs and places their other portal as far left on the portalable surface as possible. Then Orange hops to the disassembler, and Blue does one hop, followed by A/D spam to avoid hitting their head on the edge of the disassembler. |
| − | + | # Orange hops to the portalable surface and portals themself over to the entrance to the 2nd course. Once Orange is through their portal, Blue replaces the far one and stands near the top of the close one. Orange then replaces their portal on the portalable surface and Blue falls through. | |
| − | = | + | # Same as the 2nd course, Orange portals up, then Blue replaces the top portal and Orange replaces it again, letting Blue fall through. |
| − | + | # Hub 4 is slightly different. In order to open the door to the disassembler room, Blue has to move forward past a small bump in the ground. This activates the light bridge and allows the door to open. While Blue is doing this, Orange jumps down, hugging the left wall to land in the small alcove outside the door. Orange then pushes against the door while Blue jumps down onto either the light bridge or solid ground. Then both players hop to the disassemblers. | |
| − | == | + | # After the <code>restart_level</code> at least 73 ticks into the level for ''Hub 5 Cutscene Skip'', Orange shoots the top portal, ensuring they hit the correct surface (the one to the left makes it a difficult strafe to hit the fling). Then both players jump down to Course 4 and portal up to Course 5. |
| − | + | # The first time you visit the Hub, there is a long animation that plays to reveal the way to get to Course 6. This is why runners don't go to Course 6 first in ''All Courses'' (AC) runs, instead playing Course 1 first. It should also be noted that regardless of which button you stand on, Blue will always appear on the left in the Extra Course Selection Room. This means that it is better for Orange to select the Course, while Blue waits at the door. | |
| + | ==For Main Categories== | ||
| + | To make the gameplay experience better for casual players, your ingame progress is remembered across sessions, and you can access the later courses before completing those before. This is, however, not allowed for speedruns. To begin a run, you need to first reset your progress. To do this, there is a handy [[SAR]] command called <code>sar_coop_reset_progress</code>. First, get into a Standard Coop session with a friend, and have both robots run the command. Then you can <code>changelevel</code> to the Calibration course and your progress should be reset. | ||
| + | ==For Runs Using <code>sv_cheats</code>== | ||
| + | If the category you are running requires the use of <code>sv_cheats</code>, it will not be possible for you to reset your progress. Furthermore, all 6 courses will be automatically marked as complete. This makes speedrunning annoying, but is unavoidable. Any time you enter a course, you must select the first level by spamming <code>+use</code> on the left arrow button in the disassembler area. For this purpose, it is helpful to have either <code>mwheelup</code> or <code>mwheeldown</code> bound to <code>+use</code>, or make use of the <code>useswap</code> alias as included in the [https://github.com/p2sr/simple-configs/releases Simple Configs] package. | ||
| + | ==Any% Hub 1/2 Skip== | ||
| + | <pre style="color:red">Include details about the Any% Hub 1/2 Skip</pre> | ||
| + | ==Dialogue== | ||
| + | There are no dialogue cues or [[Elevator Cues]] for this map. | ||
=History= | =History= | ||
| − | |||
[[Category:Maps]] | [[Category:Maps]] | ||
[[Category:Cooperative Maps]] | [[Category:Cooperative Maps]] | ||
Revision as of 00:00, 14 August 2021
- File name mp_coop_lobby_3
- Native to Challenge Mode Not Available
Contents
Overview
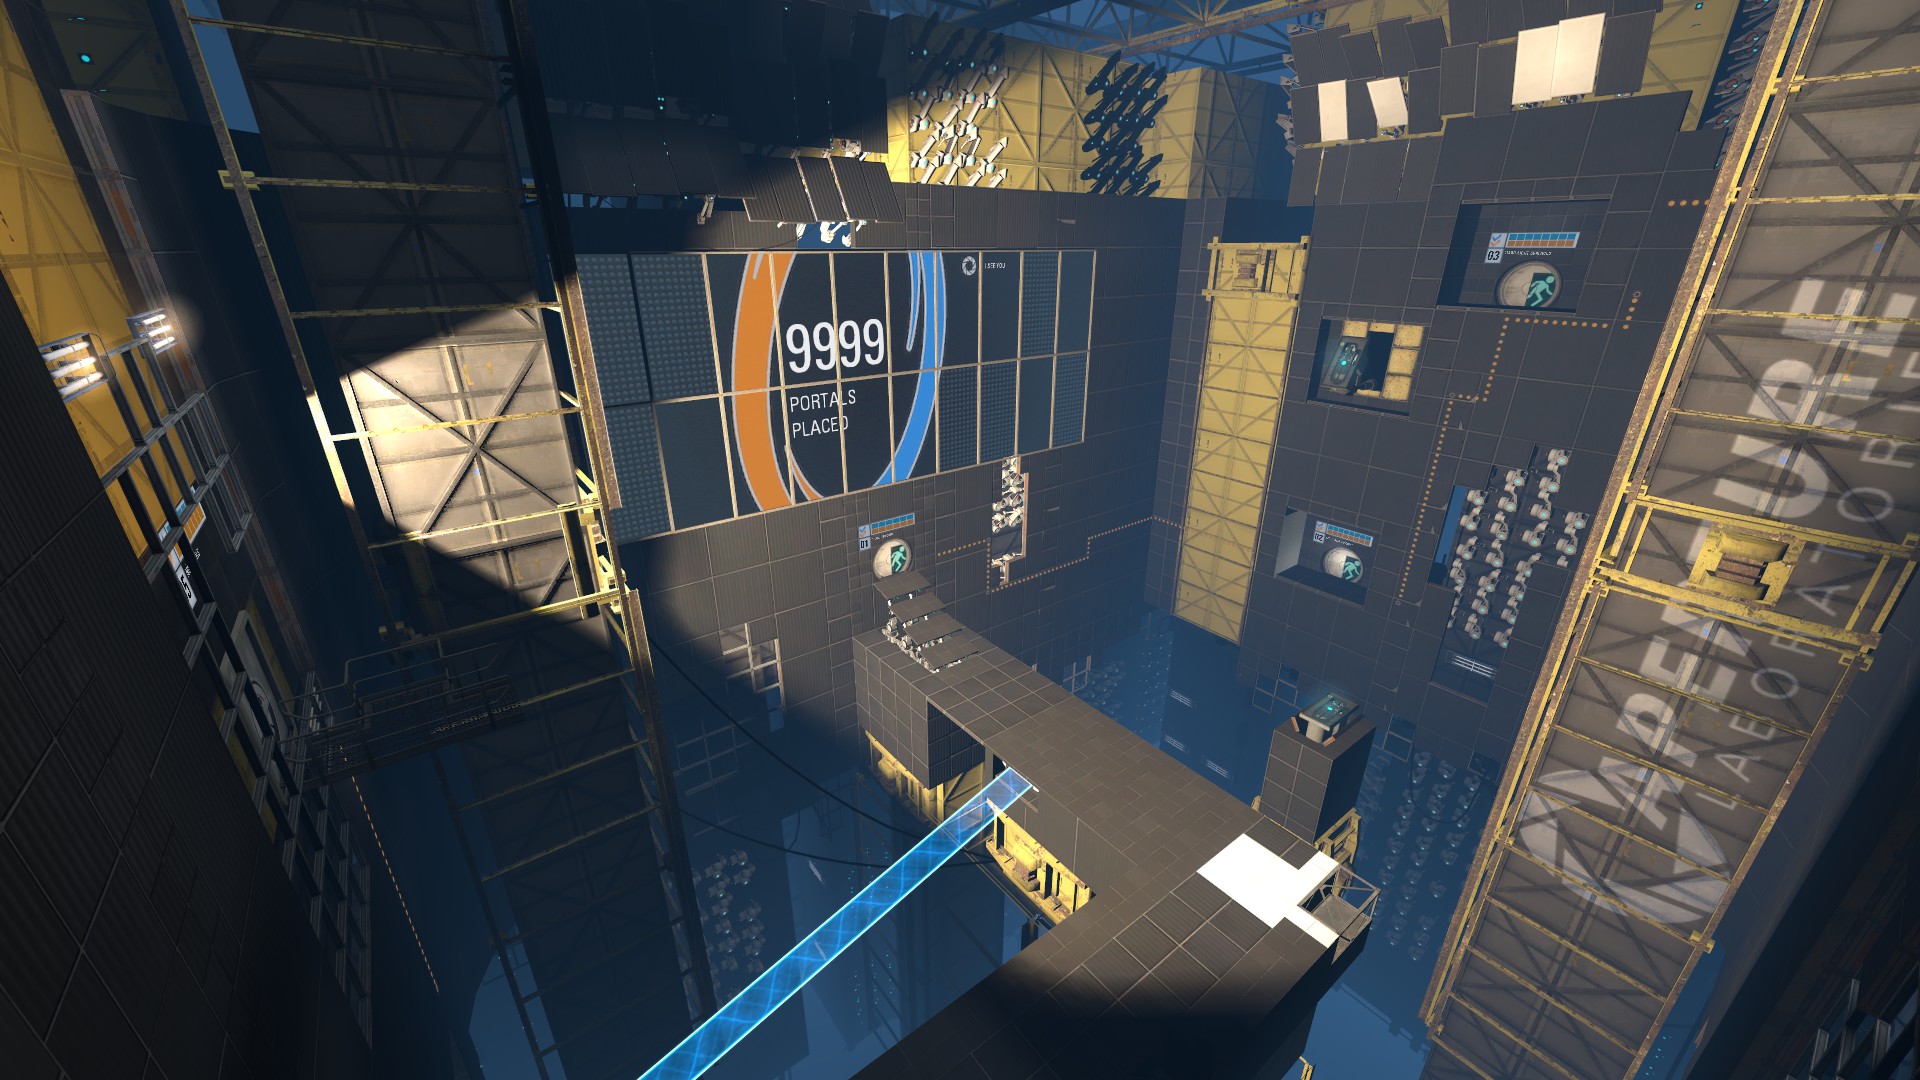
Hub is the main "lobby" of the Cooperative Testing Track. You return to it after completing each course, and the next one is unlocked.
General Route
Generally, each time you reenter the Hub, Orange is the one that hops ahead and gets to the disassembler first, while Blue waits at the portalable surface at the bend. There are, however, slight route differences for each course.
- Orange hops ahead, placing a portal at Blue's feet at the bend in the path. Blue should stand near the top of this portal, so they can airstrafe to the right when they fall through the portal. Orange stairhops up the stairs and places their other portal as far left on the portalable surface as possible. Then Orange hops to the disassembler, and Blue does one hop, followed by A/D spam to avoid hitting their head on the edge of the disassembler.
- Orange hops to the portalable surface and portals themself over to the entrance to the 2nd course. Once Orange is through their portal, Blue replaces the far one and stands near the top of the close one. Orange then replaces their portal on the portalable surface and Blue falls through.
- Same as the 2nd course, Orange portals up, then Blue replaces the top portal and Orange replaces it again, letting Blue fall through.
- Hub 4 is slightly different. In order to open the door to the disassembler room, Blue has to move forward past a small bump in the ground. This activates the light bridge and allows the door to open. While Blue is doing this, Orange jumps down, hugging the left wall to land in the small alcove outside the door. Orange then pushes against the door while Blue jumps down onto either the light bridge or solid ground. Then both players hop to the disassemblers.
- After the
restart_levelat least 73 ticks into the level for Hub 5 Cutscene Skip, Orange shoots the top portal, ensuring they hit the correct surface (the one to the left makes it a difficult strafe to hit the fling). Then both players jump down to Course 4 and portal up to Course 5. - The first time you visit the Hub, there is a long animation that plays to reveal the way to get to Course 6. This is why runners don't go to Course 6 first in All Courses (AC) runs, instead playing Course 1 first. It should also be noted that regardless of which button you stand on, Blue will always appear on the left in the Extra Course Selection Room. This means that it is better for Orange to select the Course, while Blue waits at the door.
For Main Categories
To make the gameplay experience better for casual players, your ingame progress is remembered across sessions, and you can access the later courses before completing those before. This is, however, not allowed for speedruns. To begin a run, you need to first reset your progress. To do this, there is a handy SAR command called sar_coop_reset_progress. First, get into a Standard Coop session with a friend, and have both robots run the command. Then you can changelevel to the Calibration course and your progress should be reset.
For Runs Using sv_cheats
If the category you are running requires the use of sv_cheats, it will not be possible for you to reset your progress. Furthermore, all 6 courses will be automatically marked as complete. This makes speedrunning annoying, but is unavoidable. Any time you enter a course, you must select the first level by spamming +use on the left arrow button in the disassembler area. For this purpose, it is helpful to have either mwheelup or mwheeldown bound to +use, or make use of the useswap alias as included in the Simple Configs package.
Any% Hub 1/2 Skip
Include details about the Any% Hub 1/2 Skip
Dialogue
There are no dialogue cues or Elevator Cues for this map.