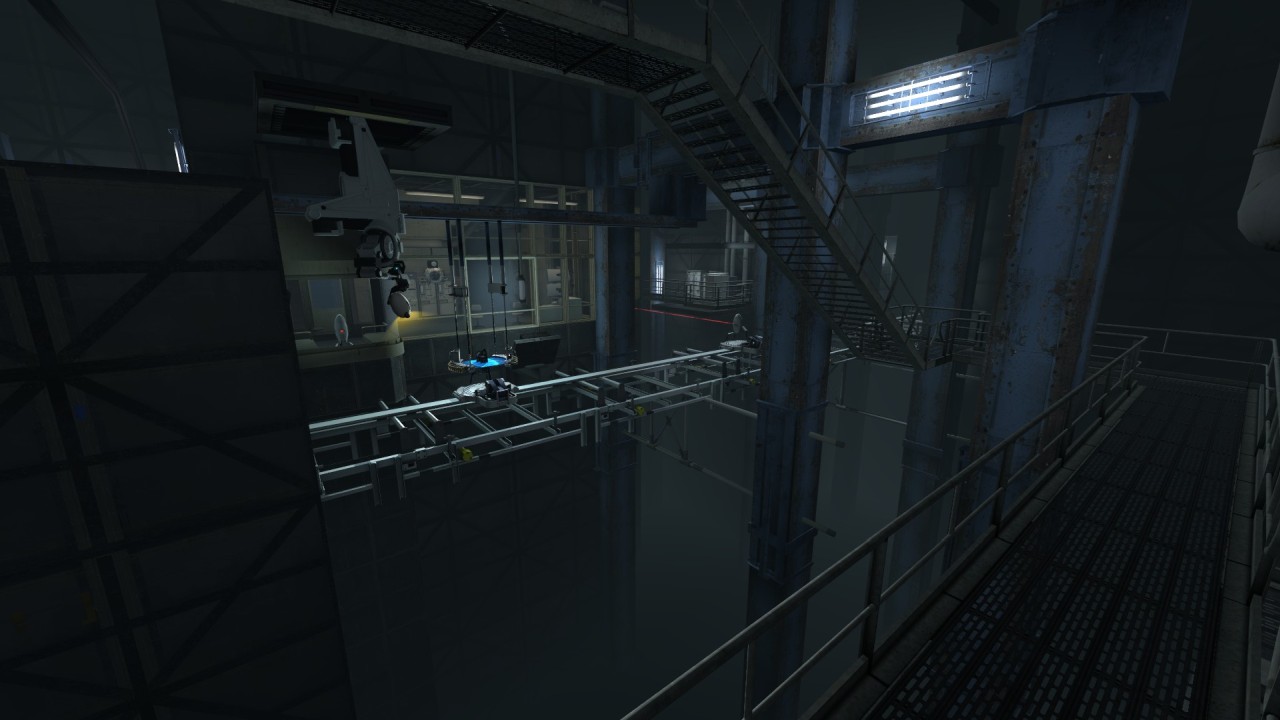
Turret Sabotage

- File name sp_a2_bts4
- Appearance The Escape
- Native to Challenge Mode Yes
- World record: loading...
- Least portals: loading...
Contents
Overview
Turret Sabotage is the second map in the Chapter 'The Escape'. In this map, you swap the turret template from an operational turret to a defective one, sabotaging GLaDOS' supply of turrets. The previous route used during this section involved collecting two defective turrets, ad arranging them in such a formation that would allow you to ascend vertically, then skipping over the entire sequence of Wheatley "hacking" both doors and having to collect the defective turret for the template. This was due to the models of defective turrets repelling one another in a way which allowed runners to construct a "flying machine" of sorts. However, this strategy was heavily dependent on RNG, and required a lineup to be performed consistently.
Fortunately, a new strategy involving a very precise portal shot through the final door, originally opened by Wheatley after a lengthy cutscene, was discovered. This strategy is not only easier, but also has no dependence on RNG and is either just as fast or faster, depending on execution.
General Route
Beginning the level, circle jump down the corridor until you reach the door facing towards the Turret Redemption Line. Shoot a portal in the bottom right hand corner of the wall above the Redemption Line, and then another on the portable surface straight in front of you (just beside the door). Jump through, and perform a re-portal when exiting to gain extra speed (not necessary, but helps).
Then, bunny hop along to the conveyer and strafe jump across the boxes along the intended route, to get to the conveyer going the opposite way. Once on this second conveyer, it is very useful to try and stay on the right most side of the conveyer, where there is only railing instead of conveyer - this ensures you aren't pushed backwards, helping you keep your momentum somewhat. After bunny hopping down the conveyer, jump down to the catwalks which bring you to the turret firing range.
Once at the firing range, perform a portal stand to the very right as soon as you enter the doorway. Then, whilst standing in the above portal, aim at the wall directly across from you, in the room with the portable wall which you must usually shoot into. Shoot the opposite portal to that which you're stood in onto this wall, and then quickly move backwards. If you've done it correctly, you should be able to just squeeze through, skipping the entire sequence of portalling into the firing range and across.
After this, wall strafe down the catwalk until you reach the turret tossing section. Bunny hop along the catwalks until you reach the small office in which the template turret is housed. Shoot a portal as soon as you enter the room, on the first wall to the left of the doorway, and another at the far end of the doorway. Go through it, and immediately move forwards and left. If this is done correctly, you should be nudged against a desk, staring at a portable wall in front of you. There should be a non-portable, black wall directly on your left side.
HOW TO LINE UP YOUR SHOT WITH CL_SHOWPOS 1
(USING A LOW SENSITIVITY BIND IS HIGHLY RECCOMENDED FOR THIS SEGMENT)
This section will be very familiar if you've attempted the "pancake shot" in Secret Panel. Ensure that you have the command cl_showpos enabled, with your current co-ordinates laid out under the pos category in X, Y and Z format respectively.
Make sure you're pushed against the desk in front of you, and try and line your crosshair up with the faint line which can be seen on the wall almost directly in front of you - your ANGLE CO-ORDINATES (seen just below the position co-ordinates, laid out in the same format) should read something along the lines of -29.20,
-0.60 and -0.00
Then, ensure that your orange portal, shot just behind you and beside the door we're trying to get through, is shot as far to the bottom left as is possible. Head through the portal, and push up against the computer monitor so that you're staring right at the door. Your X POSITION co-ordinate should read 6783.93 (anything from around 6783.91 to 6783.95 can usually work, however .93 is the most reliable). If that's correct, then you've successfully lined up your physical position. Now, try and aim just at the solid line (which seems to be a scratch of some kind) just above the centre-right of the top of the door's circular mechanism. Finally, aim your crosshair precisely so that your X ANGLE co-ordinate reads between -0.01 and -0.03, with -0.02 being the most consistently successful, and your Y ANGLE co-ordinate reading 167.35. Shoot the opposite colour to the portal you are stood in, and if all is done correctly you should be able to see the portal appear on the opposite side of the door. Walk backwards through, and congratulations: you've just skipped the entire turret template sequence. Note: watch out for live turrets on your way to the Bring Your Daughter To Work Day room, as whilst they would normally be swapped for defectives at this point, they are not here, and as a result they can and will shoot at you.
Set your sensitivity back to normal (if you changed it) and bunny hop down the hall to the conference rooms. The rest of the level simply involves bunny hopping through the complex to the door at the end of the level - however make sure you are able to have enough speed to outrun Wheatley during the section which requires you to go down the flight of stairs.
Challenge Mode Specific
Full Game Specific
Full Game Dialogue
There is no dialogue in this chamber as it has no ending elevator.