Core

- Previous Map Tube Ride
- File Name sp_a2_core
- Appearance The Escape
- Native to Challenge Mode Not by default
- World Record loading...
- Least Portals loading...
- Next Map Long Fall
Overview
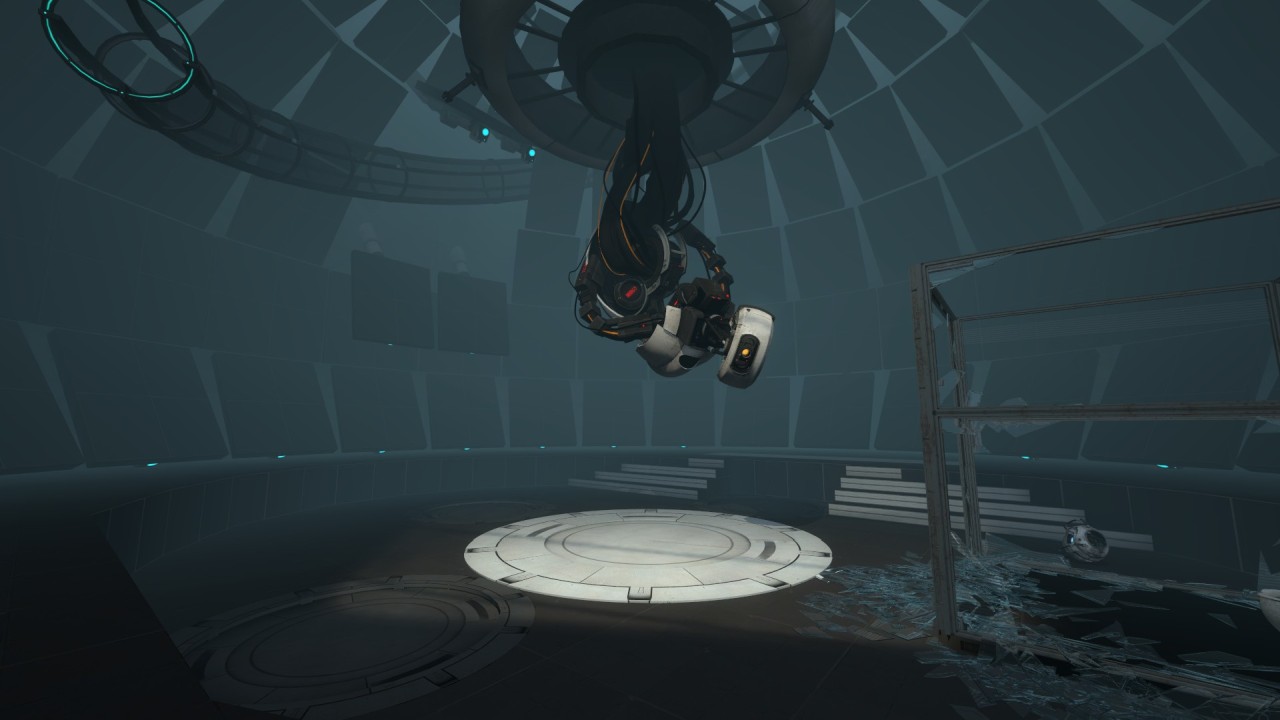
Core is the final map before going to old Aperture as well as the final map of the chapter Escape. The map acts primarily as a long cutscene that builds to GLaDOS losing control over her facility to Wheatley, and Wheatley's betrayal of Chell.
General Route
Starting Corridor
The start is fairly simple. Most runners wall strafe up the staircase. You can try to stair hop but more often than not it will be slower without great luck. You can either hop around the corner to shoot above the trap room, or you can portal over there. Portaling over is faster, but requires pretty quick aim and some practice for it to be any faster.
Trap Room
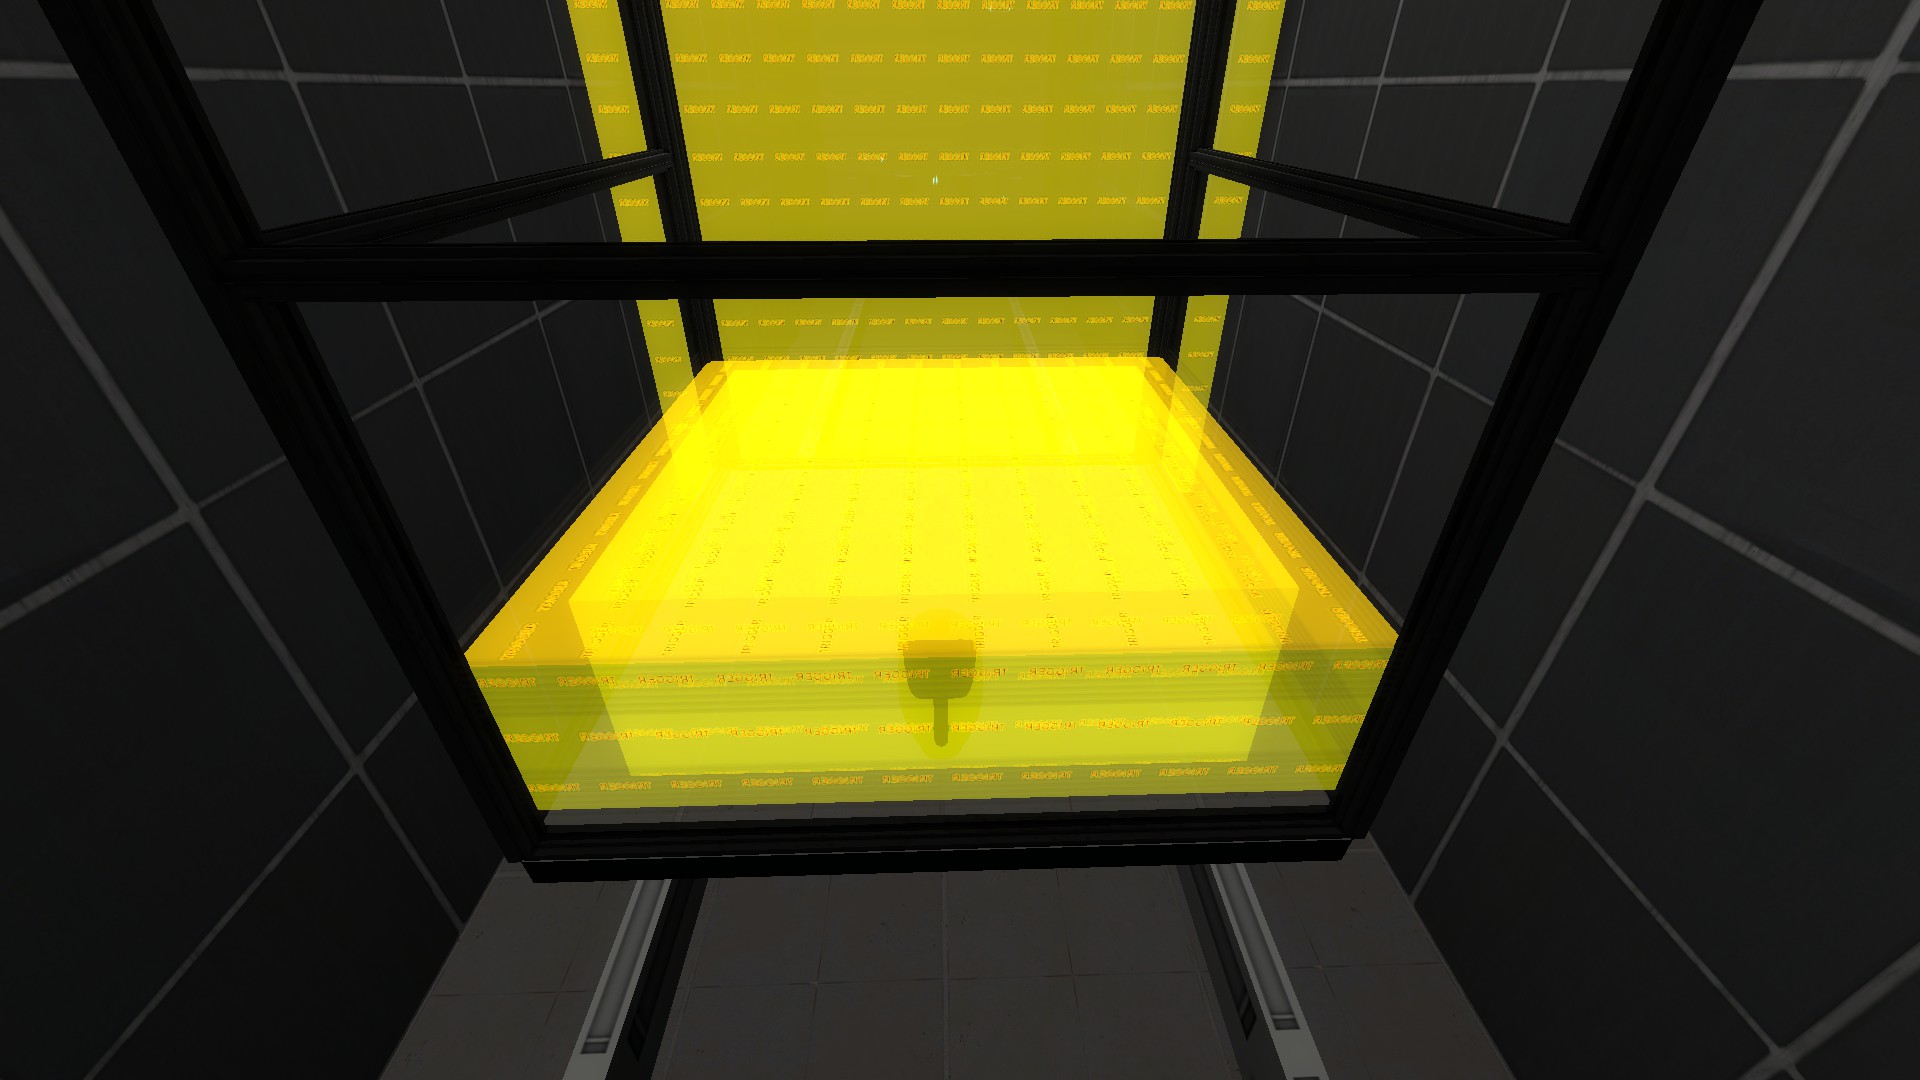
Once you've portaled above the trap room, jump out of the portal towards where the door is, and spam your +use bind quickly. The faster the door is "opened", the faster the dialogue begins. From here, the only thing you need to worry about is falling quickly through the opening floor. The trigger that starts the container movement is pictured to the side.
The entire cutscene that follows this is completely static. The next thing the player needs to do is place Wheatley into the Core Transfer Receptacle. Even this isn't on a very strict timer, as picking up Wheatley does not change the speed at which this receptacle becomes accessible.
Stalemate Room
Backup for missing the circle jump entrance
Entrance to the stalemate room can be done quicker when doing Challenge Mode runs, check out #Challenge Mode Specific for more info.
Circle Jump Entrance
Standard entrance to the stalemate room involves standing outside, slightly behind the portalable white surface. Once the panels open up, you place a portal on the wall (typically to the right), and then circle jump towards the portalable surface on the floor. The goal is to enter the portal with a good amount of speed and be able to pass above the panels that will pop out in-front of you. Ideally, you end up passing them entirely, and you press the button, and quickly move out of the room to start the ending dialogue. Often times however, you will get knocked upwards to where you can still hit the button, but it will be slower than if you had cleared the top.
Reportal Entrance
A good backup strategy, or good replacement strategy if you're not confident in your circle jump would be to enter the room, quickly shoot a portal on the other end, trigger the panels, then go back through the portal you entered, and reportal to the button. This is noticeably slower than the circle jump, but a good backup or alternative strategy. See the sideview linked for a demonstration.
Ending Cutscene and Elevator Skip
The ending cutscene is mostly just static. The only thing to note is that there is a look trigger on GLaDOS while she is screaming. If you do not look at GLaDOS during this section the cutscene will stop.
The elevator skip saves 2:30 over the intended route, so skipping this in runs is almost a necessity. For the skip, you want to wait somewhere in-between the first and second line on the floor behind the elevator shaft. Listen for the line "Right, yeah, the escape lift, I'll call it now." to ensure that you're ready to get up on the elevator, this line of dialogue is also a great place to quick save.
For an easy setup, hold +forward when you hear the *ding* for the elevator and jump shortly after. Once you land on top of the elevator railing, be sure to start walking backwards to avoid the elevator pushing you off. It is also recommended to stay closer to the back of the elevator, to avoid getting stuck.
You can get off the elevator by jumping and holding +forward during the dialogue cue "I can't get over how small you are! But I'm *jump* huge!". You want to move out from the elevator slightly, then curve back in towards it to fall under. If you hit the floor, move to position yourself so that you can fall through for the level transition.
Challenge Mode Specific
Starting Corridor
Stair hops at the start are entirely optional. They very rarely give a good amount of speed for the entire duration, and are not widely used. Portaling from the top of the staircase to the right is much faster. From there you swing out to hit the portal above the trap room, and continue as normally.
Stalemate Room Pre-Hop
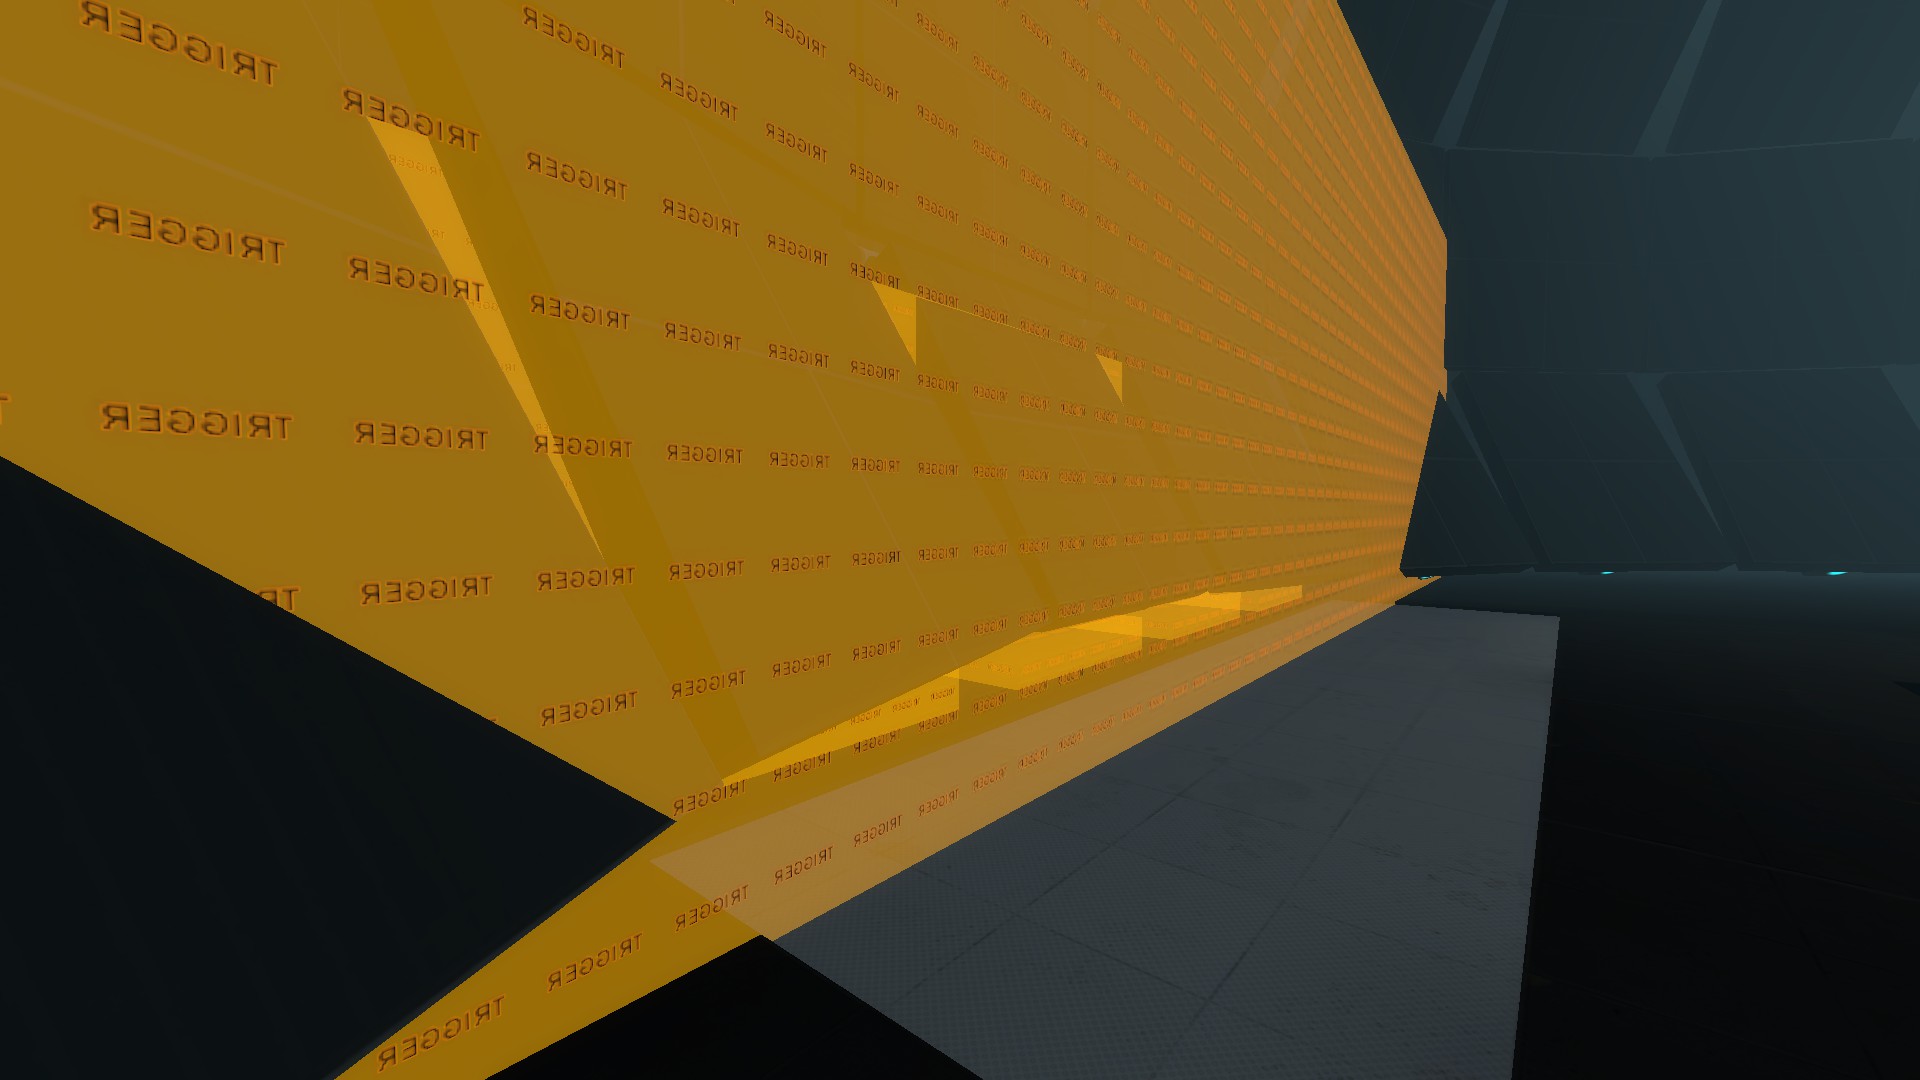
Another improvement is pre-hopping the entrance to the stalemate room, or circle jumping before the panel is entirely open, and snipping a portal on the wall while entering a pre-placed floor portal. This is quite a bit trickier and not needed for a top 10 on the map, but saves a good amount of time. Either way, be sure to exit the stalemate room as quick as possible after hitting the button. The trigger outside of the room shown to the side is where you need to reach to trigger the ending sequence.
Fast Fall
Creating a save to practice fast fall is not allowed in the game by default, as the save functionality is disabled on top of the elevator. The command map_wants_save_disable 0 will allow you to create a save on top of the elevator for practice. Good advice for hitting fast fall is to strafe back towards the elevator later than you might instinctively. Holding crouch after walking off the elevator will also help.
Include more advice / example
Full Game Specific
Full Game Dialogue
There are no dialogue cues or Elevator Cues for this map.

