Doors
- File name mp_coop_doors
- Appearance Team Building
- World Record loading...
- Least Portals loading...
Contents
Overview
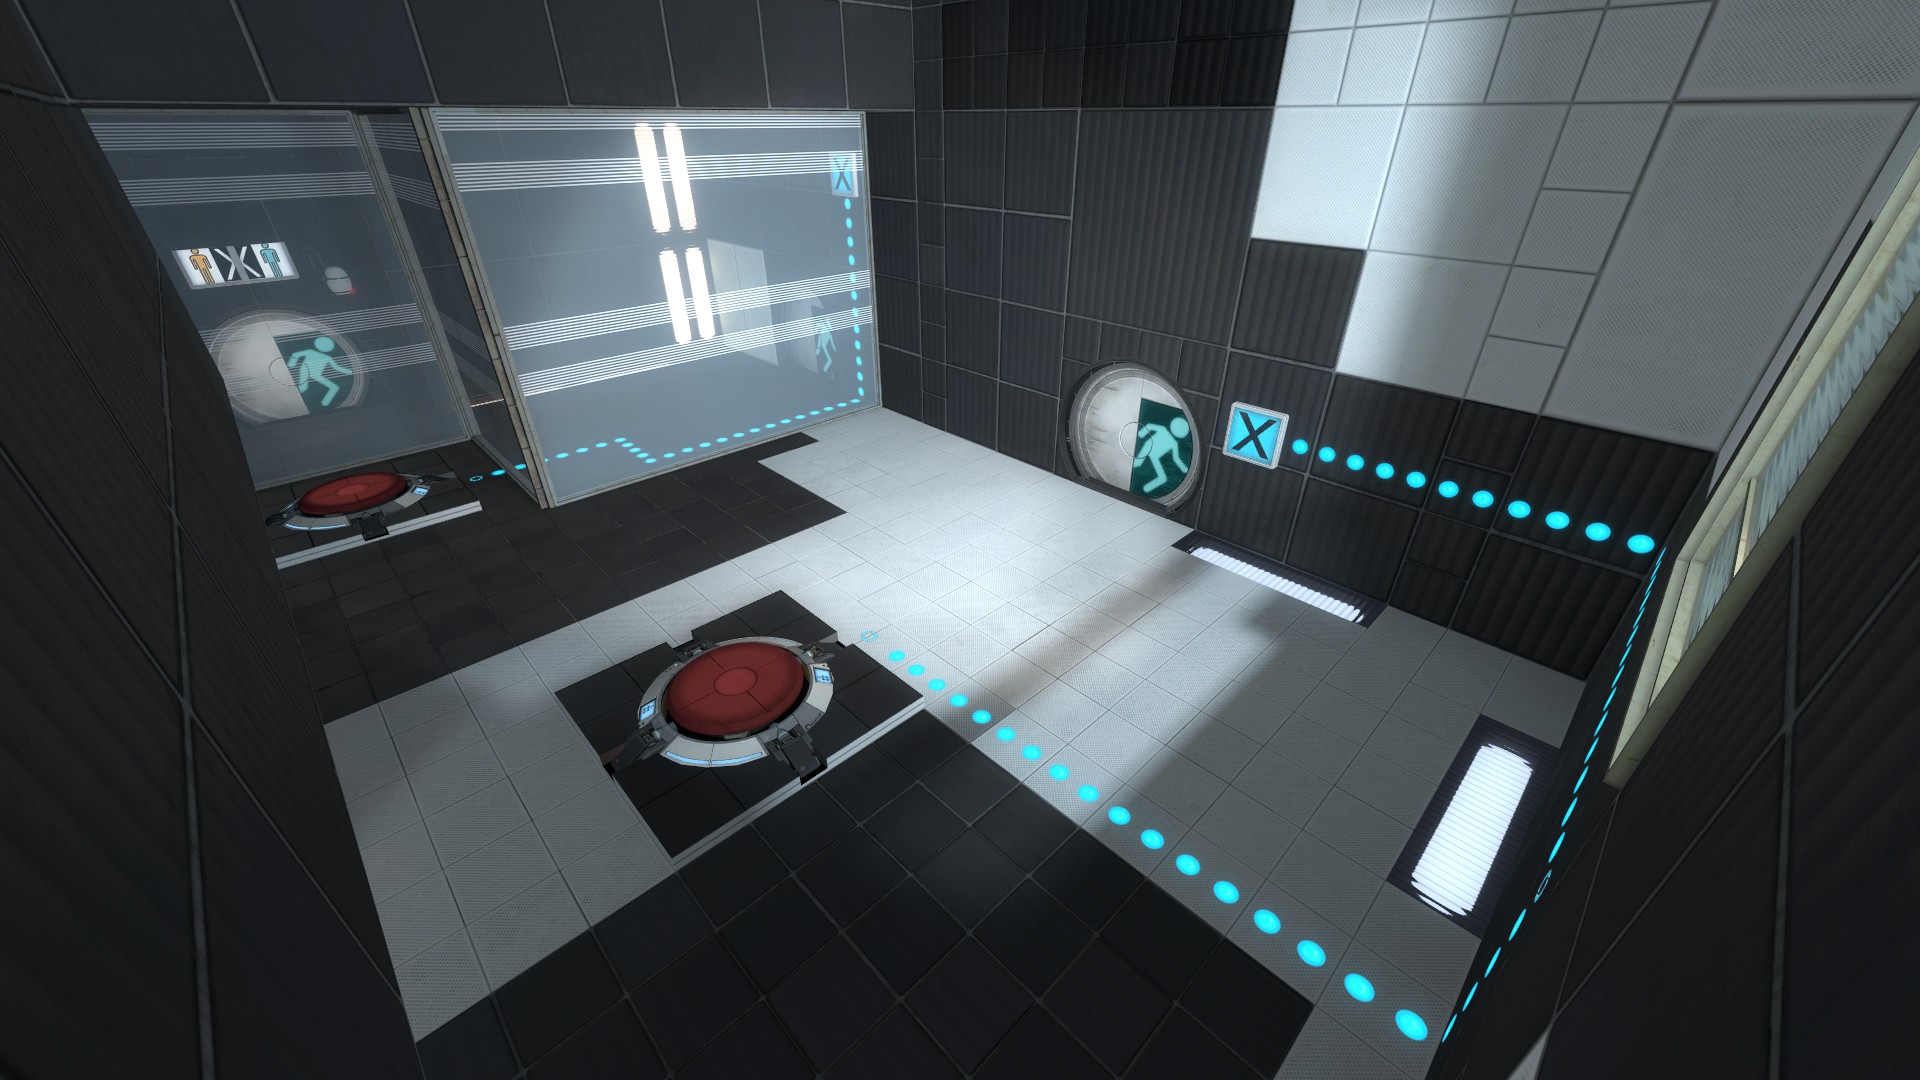
The first map of Team Building and thus the first real chamber outside of the hub and calibration in coop, also the first map in coop's Challenge Mode. The level Introduces the players to buttons and thinking with two players as opposed to one.
General Route
There is no general route for Doors. The Full Game and Challenge Mode Routes are entirely different. The most simplistic overview of a general route would just be for blue to open the first and second doors for orange, while orange sets up a portal for blue to travel through. These role distinctions are determined by the players' spawn locations.
Challenge Mode Specific
The Challenge Mode route takes advantage of an oversight by the developers. Underneath the glass wall, there is a slight gap between the frame and the floor. Using this, a runner may exit a floor portal and quickly place a portal onto the portal surface near the end.
Least Portals
This level can be done in zero portals by having orange button stick both buttons.
Full Game Specific
Example of route
Full game playthroughs of Doors use the old Challenge Mode route with a minor backup for when the coop button stick occasionally fails. This is because of the extreme inconsistency with the current Challenge Mode route where even if you lineup near perfectly and execute the inputs correctly it can still fail.
Blue Route
For this map blue only has two things he really does for the route. The first thing blue has to do, is watch carefully to see if Orange hits the button stick. If Orange's button stick attempt doesn't work he has to get on the button as quick as possible. No matter how fast he is orange will hit the door but getting there quicker will obviously minimize wait time. The second thing he needs to do is get to the second button located closest to the ending door before Orange hits it. This is much easier achieved with the button glitch, but is possible without one. The circle jump blue does through the ending portal although not a route variation, or a hop pattern variation is done in several different ways. Most of which are the same speed and merely personal preference, however; you will notice top player choosing one more than any other. The first is probably the most intuitive for newer players, and that is to have the cross hair positioned looking in the direction of the portal and begin your circle jump once orange has gone through the door. The second is the most preferred by top players, and it is to look at the door orange will be coming through and do a standard coop circle jump (no w, a or d only) through the wall portal. The reason this is preferred most by top players could be because it's large windup results in a feeling of high speed being more consistent, or simply because in a coop session you're likely to do coop circle jumps at the start of every map meaning you'll be very well warmed up with this movement technique.
Orange Route
First Button Stick Hop Pattern
The route currently used in full game is very simple at it's core but has many variations from the view of hop patterns and whether or not the button sticks. If the button doesn't stick you'll hit the door and have to wait for blue to press all the buttons, if this happens none of the hopping patterns apply.
The easiest way of doing the hopping pattern is to only bunny hop off the button (for the purpose of sticking it) and walk the rest of the map. After the button stick all that needs to be done is placing a portal on the wall to the right of the second button located closest to the exit door and place another portal on the portalable surface located near the ending. A secondary more complex hopping pattern that can be tried for those who can both wall strafe and bunny hop is to wall strafe on the wall close to oranges spawn in the direction of the button. wall strafing into a bunny hop off this wall will result in the player landing directly on the button giving them a chance for the button stick and a sizeable amount of speed towards the first door. In the time after the hop that sticks the button you'll want to turn around and shoot the portal on the portalable surface closest to the button that is closest to the ending door.
The fastest hopping pattern uses the tube hop movement technique. A tube hop is when you circle jump very quickly under the spawn dropper with the intention of hitting your head on the lower lighter part of the tube. Hitting your head on the tube will make you land on the ground .2 sooner, but in this case it's chief benefit is that it actually fixes the spacing so a button glitch attempt is possible. Without a tube hop you'll notice you'll never get far enough to actually land on the button, and even if you did you certainly wouldn't make it to the door. With a tube hop and good strafing you'll notice that you're landing on the front part of the button setting you up perfectly to land under the door frame. You'll want to shoot the portal in the air time immediately after the button glitch hop as you would with the wall strafe route.
Middle Area Hopping Pattern
From here there are two possibilities, you either had enough speed to be directly under the door frame, or you didn't (50/50). If you landed directly under the door frame attempt to be on the right side so that when you jump again you will get pushed by the frame in the direction of the next door (this can potentially save as much as half a hop). If you didn't land directly under the door frame you'll need to do essentially the same idea but with a circle jump, gaining speed from an arched door circle jump is somewhat different from a regular circle jump so it might be required to practice this separately from your regular circle jump practice. After getting through the door on your next hop depending on your speed it might be required to do a delayed hop so you'll be able to round the next corner and successfully keep your speed to the ending trigger.
Ending Area
Assuming that everything up to this point has gone correctly and blue got to his button soon enough you should be able to hop straight through the door with a large amount of speed. Your main priority after getting through the final door is to shoot the portal on the wall. The reason for this is because you already have speed meaning that you'll be very likely to beat blue to the door trigger. That means there should be a focus on getting blue in there as quick as possible. For this reason in World Record runs you'll see the person usually shoots the portal at a minor cost to their speed since once you hit the trigger you'll have to wait for the door to finish opening anyway. This was so important in the past that a more advanced version of this route used in Challenge Mode before the current route was to reportal blue (while he circle jumped) so that he could get closer to Orange in terms of trigger time. The reportal route is not full game safe and saves minimal time so is probably not worth it.
Door to Elevator
It doesn't matter who goes first but it is usually important to have that type of thing decided before even loading into the map. If high ping is a factor then orange going first would likely be beneficial as then Orange won't have to deal with an extremely laggy point of view, but Blue going first will not lose time.
Full Game Dialogue
There are no dialogue cues or Elevator Cues for this map.