Finale 4
- Previous Map Finale 3
- File Name sp_a4_finale4
- Appearance The Part Where He Kills You
- Native to Challenge Mode Yes
- World Record loading...
- Least Portals loading...
- Next Map N/A
Contents
Overview
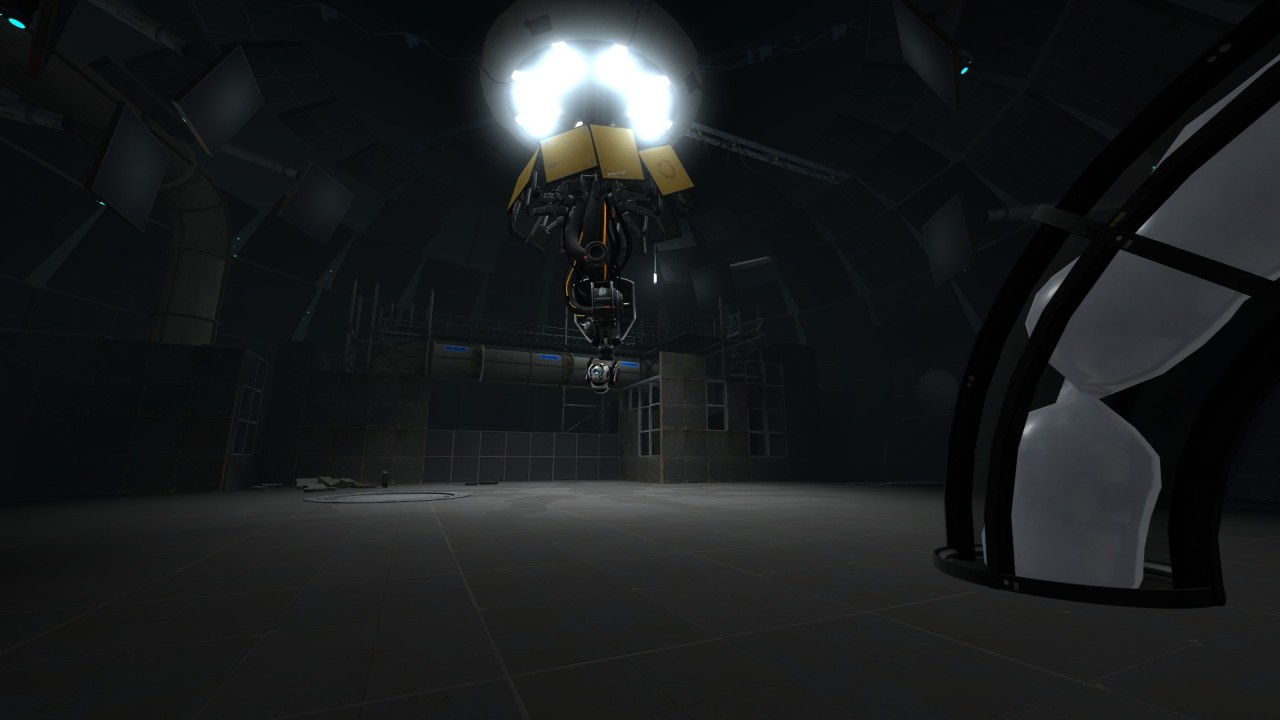
Finale 4 is the final map of the singleplayer campaign for Portal 2, and thus is the end of the run. The timer stops when a shot portal overlaps with the moon's hitbox.
General Route
Start off with a quick portal up to the corrupted cores room, reportaling using the left wall next to the start if you can. Then just hop through the tube room and plug PotatOS into the core receptor. From this point onward, Wheatley has an annoying long monologue that cannot be skipped, so entertain yourself somehow (SARtris?) and get in front of the conversion gel pipe when Wheatley finishes talking. Move out of the way of the bombs after he starts shooting them, and shoot the portal surface above the catwalk. Wheatley will soon shoot another volley of bombs at you, so you portal one of them up to hit him, portal yourself up to the catwalk, and then preserve the others.
Add details about bomb preserve
By jumping backwards and left after getting past a certain point on the catwalk, you can get on top of the railing. Jump over to the right side, walk down the catwalk, and wait for the Space Core to arrive. When he does, bhop to the left railing, off of it (towards Wheatley), and turn around mid-air, grabbing the space core. This avoids getting pushed into the far side of a bunch of rubble that you would have to squeeze past on the right side to attach the core. Bounce on the repulsion gel and put the space core into Wheatley's right (your left) side. You can also attempt to throw the core into the receptacle before bouncing, which saves about 1 second, but is much harder.
Use the short time you have here to check that your bomb preserve worked and that the bombs are as evenly spaced as possible. Then, when Wheatley says, "Ahhh... WHA- What happened?", shoot the portal your preserved bombs are coming out of under Wheatley. If timed correctly, this should damage him as soon as possible. If the "What happened?" line finishes before you hit him, you will get "Bad Ending" where he continues to shoot at you for the rest of the map.
Then portal yourself up to the catwalk again, preserving the final bomb if possible, but that happens quite rarely, due to the random intervals between the bombs being shot and dynamics in the physics. Bounce over to the far end of the catwalk and wait for the Adventure Core to arrive. When he does, jump, strafing right and grabbing him, aiming to bounce on the repulsion gel that lands between the catwalk and Wheatley. Here, you can hold the adventure core kind of through Wheatley to insert him on the right side.
If you managed to preserve a 2nd bomb, the timing for the shot is when the announcer says, "This facility will self-desctruct in TWO minutes."
Add description of Fact Core grab fling
Full Game Specific
Early Moon Shot
What we refer to as Early Moonshot is a very specific portal shot at the end where we shoot the moon's hitbox before getting stuck in the stalemate explosion animation. There is a very small window of time in which the Moon's hitbox can actually be shot and, to make it harder, the hitbox itself isn't super big. Hitting the moon shot saves about 15 seconds making it a very worthwhile shot to go for. This is especially considering the fact that if you miss you aren't technically losing time, there is no penalty to missing it, you just have to wait through the stalemate explosion animation. Luckily for you, we have a setup for it!
- After finishing the Wheatley fight and placing the fact core on him, you want to move over to the spot circled in the first image. Standing here will set you up to have the perfect angle for your floor portal.
- The 2nd image is a close up on the area you want to stand. As you can see, there is an intersection here between the floor tiles. You want to stand right on the intersection.
- Once standing in position. You will need to wait a few seconds. Once the Announcer mentions that there is a fire in the stalemate room, debris will fall from the ceiling. This debris is always the same. You want to aim at the piece of debris circled in the 3rd image. It's kind of like a little triangle. You want to shoot at it, and keep shooting at it, don't stop until the water washes away all the Conversion Gel from the floor. If done correctly, your portal should stay on the floor even after the gel is gone.
- After getting your floor portal to stay on the ground you want to move over to it, and position yourself so that you are crouching near the top of the portal facing towards the stalemate room. Doing this will put you at the right height to shoot into the stalemate room.
- After a short time, the angled wall panel will move revealing the stalemate room. Because we are crouched and positioned at the top of our portal, we are able to just barely see part of the portalable ceiling panel in the stalemate room allowing us to shoot into the room while standing on your portal and fall directly in. One thing to note here is that that you want to shoot somewhat closer to the top of the visible white surface otherwise the portal will fail to place. Once you shoot a portal into the stalemate room you want keep holding your portal button down so that it continuously shoots and also start holding down your
+forwardkey (most commonly W) - This part can be rather tricky depending on your ability. After shooting a portal into the stalemate room you want to un-crouch and start looking near the middle of the screen that is above the stalemate room opening. The issue is, as soon as your portal lands you are going to start falling, so you have to do all this before you fall completely into the stalemate room. While also continuing to hold shoot and
+forward. Because of demo lag, this screenshot makes it look more extreme then it is. Realistically you actually have a good amount of time aim before you fall too far. By aiming at the screen what you are doing is lining up your aimer exactly with the moon's hitbox when you come out of the portal. - Once you have aimed at the screen all you have to do is continue to hold shoot and
+forward. Your first 2 portals will spark but your 3rd portal will go off exactly when your player is able to shoot the moon's hitbox milliseconds before getting locked into the stalemate explosion animation. You will know that the shot worked because the sounds will get distorted and slowed, followed by the ping that happens when the sparkle goes off on the moon's surface. This might take a few tries to get used to, but once you are familiar with it, this setup is 100% consistent and you will never miss moon shot again.


Practicing with drawline
To get familiar with the location of the moon's hitbox for early moonshot, you can use the below command to draw a box around it. This is not allowed in runs, so you can use sar_clear_lines to remove them after you're done practicing.
drawline 480.031 192.031 1543 480.031 -96.031 1543; drawline 480.031 -96.031 1543 191.969 -96.031 1543; drawline 191.969 -96.031 1543 191.969 192.031 1543; drawline 191.969 192.031 1543 480.031 192.031 1543
Full Game Dialogue
You have to pay attention to when Wheatley finishes his monologue so you don't waste time. Listen for when Wheatley says, "Goodbye."
Trivia
- "The moon orbits the Earth every 27.32 days." - Fact Sphere
- "Well, well, well. Welcome... to my LAIR. Let me just flag something up: according to the control panel light up there, the entire building's gonna self-destruct in about six minutes. I'm pretty sure it's a problem with the light, I think the light's on the blink, but just in case it isn't, I am actually gonna have to kill you, um, as discussed earlier. So let's call that three minutes, and then a minute break, uh, which should leave a leisurely two minutes to figure out how to shut down whatever's starting all the fires. So anyway, that's the itinerary. Also, I took the liberty of watching the tapes of you killing her, and I'm not gonna make the same mistakes. Four part plan is this: One - No portal surfaces. Two - Start the neurotoxin immediately. Three - Bomb-proof shields, for me. Leading directly onto number four - Bombs. For throwing at you. D'you know what, this plan is so good, I'm gonna give you a sporting chance and turn off the neurotoxin! I'm joking, of course. Goodbye." - Wheatley