Polarity
- Previous Map Wall Button
- File Name sp_a4_tb_polarity
- Appearance The Itch
- Native to Challenge Mode Yes
- World Record loading...
- Least Portals loading...
- Next Map Funnel Catch
Contents
Overview
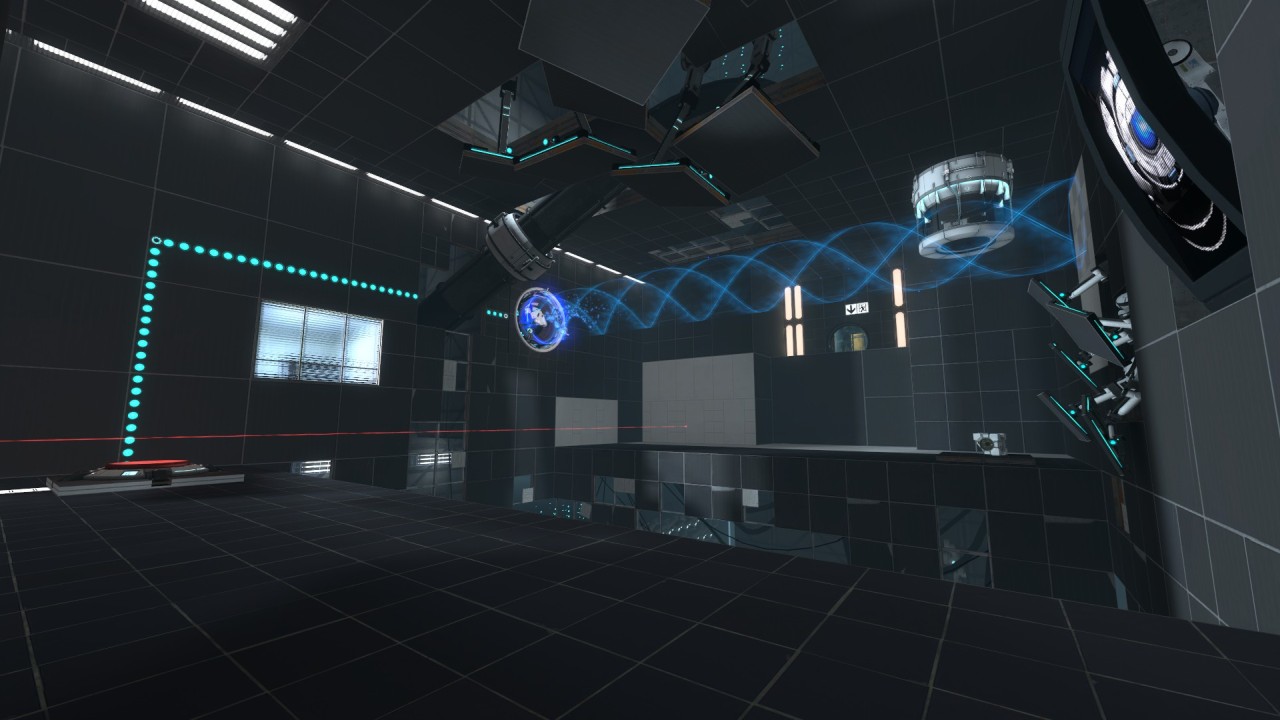
Polarity is a fairly simple map, introducing the player to the idea of reversible excursion funnels. Of course, as speedrunners, we like to ignore the normal puzzle elements, so we'll stick with the regular polarity.
Challenge Mode Specific
Least Portals
Polarity done in 0 portals
Nidboj's alternate ending route
This level can be done in zero (0) portals.
- Hop over to the turret, pick it up, and do 2 turret jumps to get across the gap.
- Kill the frankenturret by dropping it down the gap.
- Pick up the new frankenturret before it hits the ground.
- (as shown) Drop the frankenturret next to the wall and jump on top of it.
The last step is fairly difficult, and there is an easier way found by Nidboj. After grabbing the cube, push it against the right wall while looking up to get it on its side, then slide it down in front of you. Finally, jump onto the side of the cube and drop it, then spam jump.
Least Time
World Record run by Unity
The challenge mode route for this map requires us to get crouch fly as early as possible and then jump and strafe to the end of the map.
To get crouch fly, place a portal on the very bottom right of the surface on the left across the gap, and on the bottom right of the surface in contact with the funnel (this can be finnicky).
Add images of portal placements
You must then crouch into the funnel (you must be in the funnel before you are fully crouched) and be stationary, wait a short while, and then uncrouch fully (before moving at all) and leave the funnel.
When you have fly, do a circle jump and strafe into the sloped panel just to the right of the hole in the ceiling that the pipe goes through. This sloped panel gives you speed in the direction of the door.
When you are near the door, shoot the portal which you placed on the funnel surface anywhere on another surface to cancel fly and fall into the door, preferably getting a door boost to finish.
Optimization
Stair hops often yield worse results than wall strafing up the stairs on this map, possibly due to the placement of the door opening trigger.
Reaching the panel movement trigger (around the first corner after the door) as fast as possible is more important than you might think as it determines the maximum speed you can complete the rest of the map. This is because after this trigger is reached, a panel falls from the ceiling directly in our path to the end of the level which often stops you from completing the second half of the map too quickly. A fast circle jump out of the elevator with a good wall strafe can often lead to an early door cycle, possibly saving 0.1.
It is recommended that you jump before the door to get a door boost and then a hop, and then redirect left whilst shooting the portals.
The most important optimizations are to hit the panel falling trigger as soon as possible and then clearing the falling panel as closely as possible. The panel falls differently each time, so RNG often partially determines your final time at a high level.
Full Game Specific
Since we have CFG coming into this level, we can just jump after the entrance door to get as much height as possible without going above the exit door, strafe across the entire level, then use the funnel to get up the rest of the way to the exit door. This will disable our CFG, but we'll get it again later in Laser Catapult.
Full Game Dialogue
There are no dialogue cues or Elevator Cues for this map.