Repulsion Polarity
- Previous Map Propulsion Catch
- File Name sp_a4_jump_polarity
- Appearance The Itch
- Native to Challenge Mode Yes
- World Record loading...
- Least Portals loading...
- Next Map Finale 1
Contents
Overview
Repulsion Polarity is the eleventh and final map found in The Itch. This is also the final map in the game which takes place within the bounds of a Test Chamber, as every level from now on will be a part of the final escape sequence in The Part Where He Kills You. The intended route for Repulsion Polarity is long-winded and slow, however thanks to the Crouch Fly Glitch, the player is able to effectively skip the entire chamber, and preserve the fly into the final maps of the game.
General Route
Be aware! Although this chamber is rather simple with the advent of the Crouch Fly Glitch, it is very possible and likely for newcomers to soft-lock or even die on this chamber. As a result, it's advised to quicksave once you've hit the first main portal shot, and load that if something does go wrong.
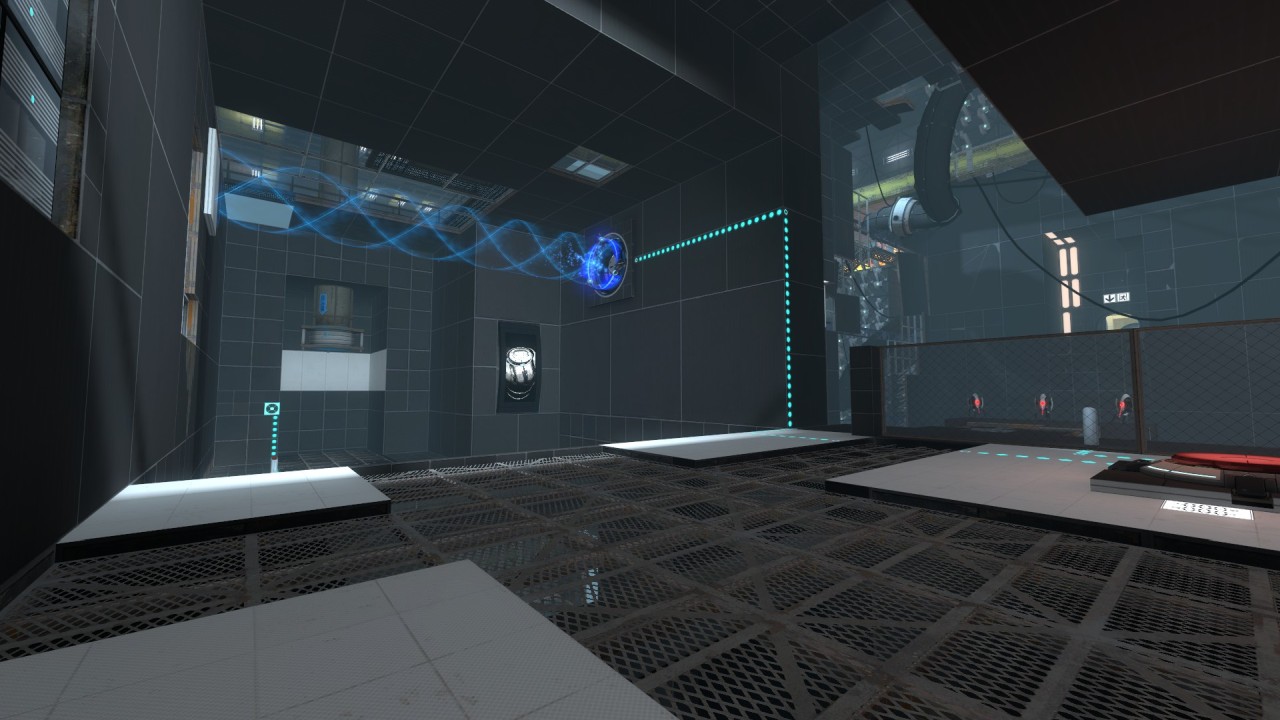
Entering The Chamber
Upon beginning the level, the first priority is immediately to get through the door and hit the trigger shown, as this is what causes the Conversion Gel pipe to smash through the chamber. Furthermore, this door will, similarly to some other levels in the game, open early enough for you to bunny hop through with proper timing, so a strafe up the stairs is recommended.
Also note that, even if you're able to outrun the falling gel pipe, you cannot progress until the Conversion Gel is splattered across the level. This is due to an invisible wall that blocks the player from progressing.
The Conversion Gel will splatter the opposite wall first, so immediately place a portal there. As soon as it does, place a portal under you and get through the door.
Hit this trigger as soon as possible.

The clip brush which prevents you from simply jumping the gap. Warning - this doesn't stop you from falling to your doom!


Getting CFG and Finishing the Chamber
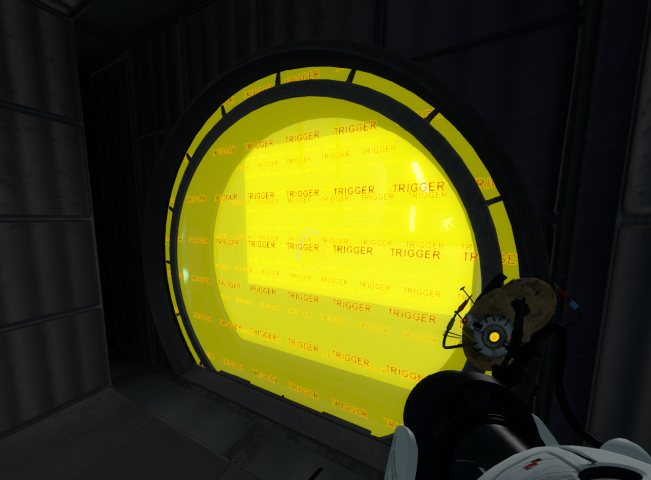
Once in the chamber proper, the first thing to do is to shoot a portal onto the flat surface pictured below. However, this portal must be placed on the right hand side of the panel, ideally at the middle in terms of height. Unfortunately, a rather lenient portal placement helper (also pictured) means that shooting this specific shot can be somewhat finnicky (as the game consistently tries to correct your portal to the middle of the panel), so it may take a few tries to get the shot correctly.
Once you've positioned the portal successfully, you need to stand on the portable surface at the start of the chamber. Then, hold crouch, and shoot the opposite portal to the one placed on the panel. Be mindful here, as some areas of this portal surface may not allow you to place a portal.

The first surface to shoot, along with the ideal placement of the portal and the accompanying portal placement helper.

The surface where you need to shoot your second portal.


After you fall through the portal, you should be inside the funnel. Continue to hold crouch for around a second or two, then release crouch. Then, shoot a portal into the bottom right of the adjacent, also pictured portal surface. Note - there also seems to be a portal placement on this portal surface too, attempting to prevent this shot. However, it's not a very hard shot to hit. Also, make sure the shot is in the bottom left, as opposed to the top left. This helps you more consistently keep CFG and not die to the turrets at the end.
Finally, once you've made this shot, simply turn around and shoot the opposite portal right in the middle of the surface you're being funnelled into. If all goes correct, you should be placed in the funnel right in front of where the turrets are positioned. Simply strafe out to the right, and fly right to the ending door.
The final portion of the chamber has a few things to be aware of, however. For one, the turrets present can and will shoot you if they are able to, so make sure you strafe out of the funnel as soon as you reasonably can. Fortunately, these turrets will boost you down with their gunfire, making getting through the ending doors slightly easier as a result - although this also means you may lose enough height to the point where you can't finish the level, meaning you must reload a save. Secondly, make sure you use either the turret gunfire or the ending door-frames themselves to push yourself down to walking height once you reach the end. Otherwise, you will soft-lock.
The adjacent shot to shoot once you've uncrouched in the funnel. Warning - might be a pain to hit.

Finally, reshoot the other portal right in the centre of the panel behind you. With any luck, you should go right through, and can now strafe out to the end.


Challenge Mode Specific
Full Game Specific
Full Game Dialogue
The optimal dialogue for the Elevator Fade is entering the elevator when GLaDOS says "for"
"So he's inexplicably happy all of a sudden, even though he should be going out of his mind with test withdrawal. AND he's got a surprise FOR [Enter Elevator] us. What did he FIND back there?"