Test
- Previous Map Three Gels
- File Name sp_a4_intro
- Appearance The Itch
- Native to Challenge Mode Not by default
- World Record loading...
- Least Portals loading...
- Next Map Funnel Intro
Contents
Overview
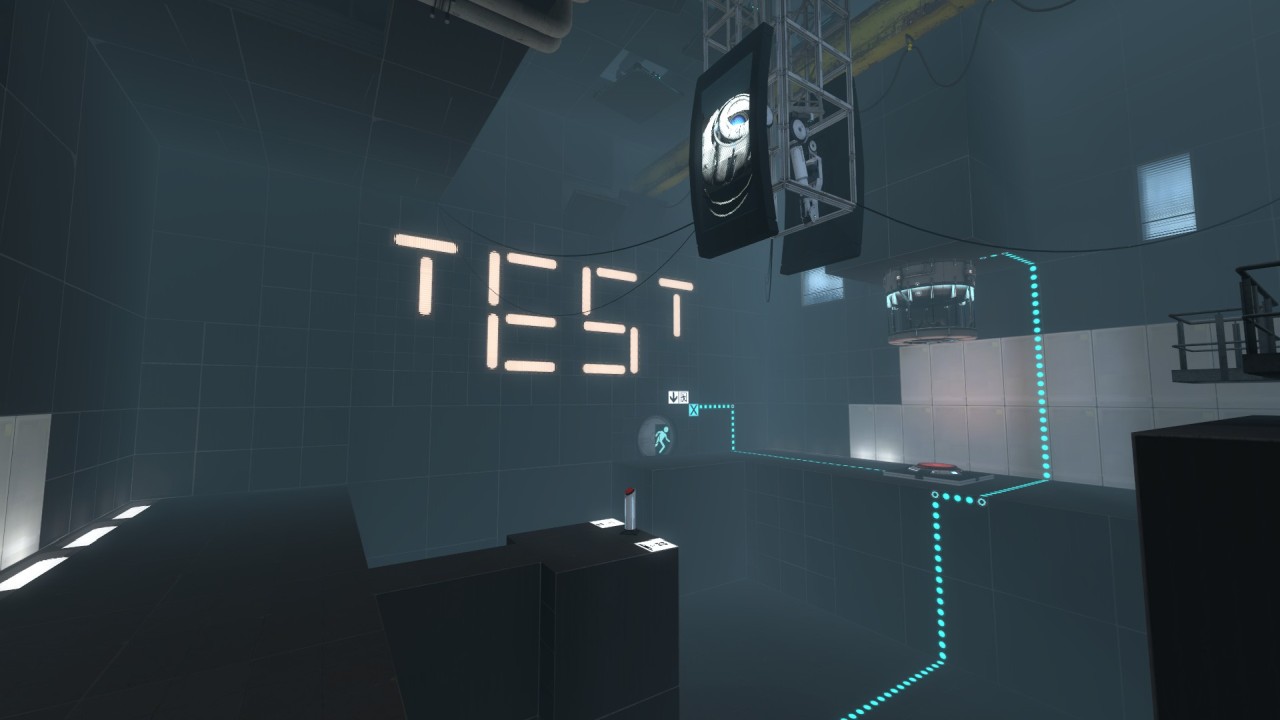
Test is the first test of Chapter 8, The Itch.
This is the first time Wheatley appears after throwing the player down an elevator shaft in Core. In this chamber Wheatley is testing his variant of the Aperture Science Weighted Storage Cube, the Frankenturret, a hybrid between a Weighted Storage Cube and two Aperture Science Sentry Turrets.
General Route
 The trigger that starts the first dialogue queue.
 The second dialogue checkpoint.
The start of Test is almost entirely intended. Be sure to prioritize hitting the dialogue trigger outside of the first elevator as quickly as possible. From this point on, the door to the Frankenturrets is on a timer. GLaDOS can start a line of dialogue that delays this timer if you're not through the portal down to the bottom catwalk through the control room. So be sure to hit this second trigger before Wheatley finishes saying "how can you not do the one...".
From this point on, go through the elevator, and be sure to be in the room that leads to the Frankenturret Testing Chamber before Wheatley finishes his line "you've got one hour, solve it.".
Frankenturret Testing Chamber
Once the door door opens to the Frankenturret Testing Chamber, you need to avoid the 47 second cutscene where GLaDOS confronts Wheatley. The fastest strategy here is to throw one of the Frankenturrets at the button, and be ready at the door when it lands to trigger the door. If the cube beats you to the button, then a panel will block you from progressing.
After exiting the Frankenturret Testing Chamber, utilize speed-wallstrafes and careful bunnyhops to make your way to the elevator, which will take you to the Test section.
Main Test Chamber (Test Room)
The test portion is fairly straight forward. More information about optimization can be found in the Challenge Mode section. Be sure you're through the door as fast as possible, as that starts the dialogue that re-opens the test for a second solving. The final dialogue trigger is determined by when you hit the cube's button for the second time, so be sure to hit it as quickly as possible. The final level transition dialogue is in the dialogue section.
Challenge Mode Specific
There are only subtle differences from the general route, but if all are employed you can save several seconds.
Dialogue Starting Trigger
As mentioned in the general route. The trigger outside of the elevator starts a timer that the player is stuck on essentially until they reach the room before the Frankenturret Test Chamber. World record aims to hit this between 6.66 and 6.76. The most common method is to start stairhops, then transition into a slower wallrun to hop under the door. You want to get some initial speed from the stairhops to activate the door trigger, but not too much so that you can't hop under the door. From here, keep a decent pace, but you don't need to rush yourself.
Cubethrow / Elevator
 Once the elevator covers the bottom row of circles, you have enough height to leave the lift.
In the Frankenturret Testing Chamber, cubes are spawned semi-randomly. If you listen with headphones next to the door, you can determine the positions of some. Ideally, you want one slightly to the right of the door, which is semi-common.
The cube throw differs slightly from the full game method. In Challenge Mode, you typically circlejump out of the door, while grabbing the cube, then throw the cube near the corner, while continuing hops to the door. This is much faster than the wallrun done in full game, but less consistent. See an example by checking out the world record run at the top of the page.
The hops after exiting the Frankenturret Test Chamber are fairly tricky, and doing them well is hard. The best advice would be to slow down World Record's run, and take note of where/where jumps are happening, and where the player is meant to strafe.
Describe stucklaunch
First Solve
As mentioned in the general route, you can jump from the elevator once the first circle is covered by the lift. Runners will prepare a circle jump right before this point to ensure they have good speed going towards the button. Pre-shooting the portal at the end of the chamber while in the lift is obviously helpful as well. Be sure to minimize the time spent while hopping to the button, and quickly hop off to the right, and land into the portal and continue your hops to the door. Making it under the door and immediately hopping hard left to hit a trigger is the most important thing to do quickly on the first solve.
Second Solve
 Trigger to bring down the final elevator.
Once these panels are open to allow you access to the test again, they're on a timer. The second panel will open shortly after the first, so just be sure you have a decent enough circle jump to be ready. Once, getting to the elevator as quickly as possible is your mission. You are not restricted by dialogue the same way you are in Full Game, however you still do need to hit the button. A good circle jump and two hops should be able to bring you in-front of the button. Press it, and be sure to shoot portals back over to the end of the chamber. From here focus on getting through the door to the final elevator as fast as possible
Ending Elevator
Prioritize hitting this trigger as quickly as possible, and practice pre-hopping the elevator to see when it opens for the player to walk in, as pre-hopping this saves a decent amount of time at a high-level.
Full Game Specific
Example in a Full Game run by Can't Even
Full Game Cube Throw
Contrary to Challenge Mode, the Full Game cube throw has the player wall run along the left wall after grabbing a Frankenturret. Once you reach the corner of the wall, flick up and right, jump and release the cube. Prioritize trying to throw the cube higher, and less dramatically to the right. This will help give you additional time to strafe, and A+D spam towards the door to your left. Press up against the door to ensure you aren't knocked back, and you should be able to continue on.
Full Game Dialogue
Dialogue Skip
The dialogue skip at the end of Test requires that you be in front of the door to the final elevator to hit a dialogue trigger, and cut off a line of dialogue. The easiest way to set up this positioning is to walk forward and jump at the door frame so your player stops in front of the door. Wait for Wheatley to say...
"There's gotta be some tests around here some where."
And walk forward on the "where" of "somewhere". This cuts off the dialogue after Wheatley says "ah", and you should hear GLaDOS begin talking. If this was done incorrectly he will finish saying "ah, here we go."
Elevator Dialogue
The Elevator Fade for the ending of Test has you enter the elevator when GLaDOS says "and".
"Well, my paradox idea didn't work. AND it almost killed me."
History
Trivia
The rare softlock, caught on video.
- It is possible, but extremely unlikely, to have a frankenturret walk onto the button (as Wheatley intended). This softlocks the game. The only recorded occurrence of this was on a world-record-pace run by Can't Even, early in his career.